Genie remote controls are convenient devices that allow you to operate your garage door opener with just a click. No more getting out of your vehicle in the rain or carrying heavy groceries inside! This guide will walk you through the programming process step by step. By the end, you’ll be confidently controlling your garage door like a pro.
Getting Familiar with Your Genie Remote
Before diving into programming, it’s vital to understand your Genie remote. These remotes typically come with two, three, or even four buttons, which correspond to different functions. For example, one button might open your garage door, while another might activate the lights. Knowing the layout will make the programming process smoother.
Most Genie remotes require a power source, commonly batteries. So, before you start the programming, make sure your remote has fresh batteries. If your remote isn’t responding, a simple battery change might solve the problem. It’s like checking if your car runs out of gas before calling for a tow!
Why Programming Your Genie Remote Matters
You might be wondering why it’s essential to program your Genie remote in the first place. Think about it: if you’ve ever lost your remote or had a new code set on your garage door opener, programming ensures you have seamless access to your garage. It’s all about convenience and ensuring everything works together smoothly.
Most Genie garage door openers use a rolling code system. This technology enhances security by changing the code each time you use the remote. So, when you program your Genie remote, you’re reinstating that communication channel and keeping your garage safe from unauthorized access.
How to Program Your Genie Remote: Step-by-Step Guide
Now, onto the action! Programming your Genie remote involves a series of steps, but once you get the hang of it, you’ll be set. Here’s how to do it, laid out simply:
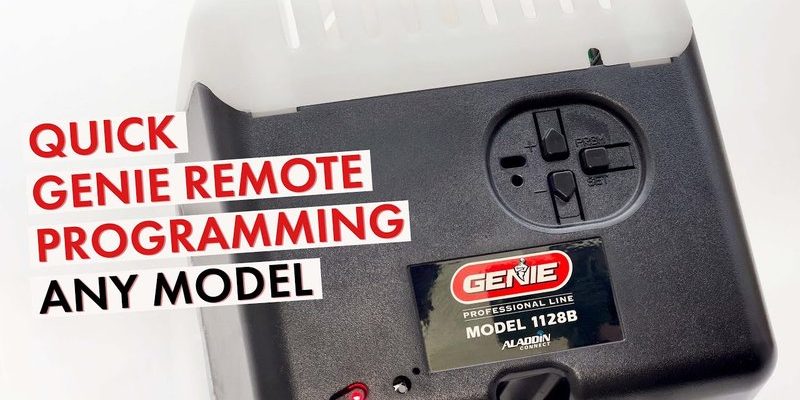
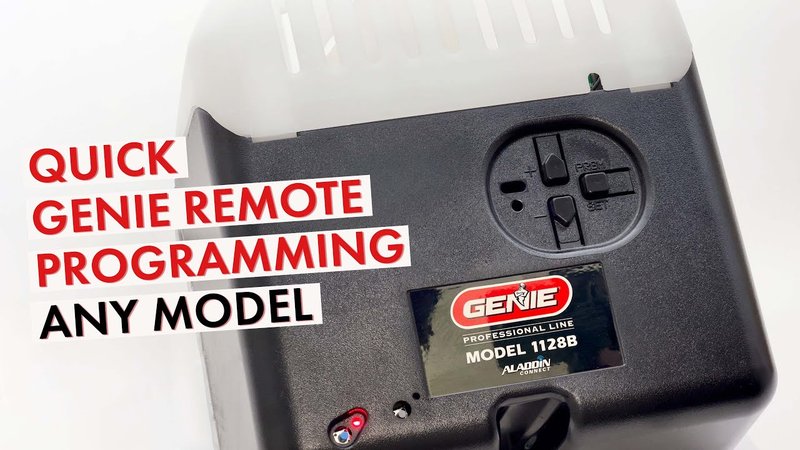
1. Locate the Learn Button: First, find the Learn button on your garage door opener. It’s usually located on the back or side of the unit. This is the magic button that connects your remote to the garage door opener.
2. Press the Learn Button: Press and release the Learn button. You might see a light illuminate, indicating it’s ready for programming. This is your signal to grab your remote!
3. Program the Remote: Take your Genie remote and press and hold the button you want to use for your garage door. Hold it for about 2-3 seconds, then release it. If done correctly, you should see the light on the garage door opener blink, confirming the connection.
4. Test the Remote: Now, try pressing the button on your remote. If all went well, your garage door should respond! If it doesn’t, don’t panic—just repeat the process or check to make sure your remote has a charged battery.
Troubleshooting Common Issues
Sometimes, even after following steps carefully, you might run into issues. Here are a few troubleshooting tips to get your Genie remote working:
– Check the Batteries: If the remote isn’t responding, replace the batteries with a fresh pair.
– Reset the Programming: If the remote is still not working, you can reset your garage door opener by holding the Learn button until the light goes out, then try reprogramming it.
– Distance Matters: Make sure you’re within the proper range of the garage door opener when programming. If you’re too far away, the signals may not connect.
Alternative Programming Methods for Universal Remotes
In case you’re using a universal remote, the programming steps can differ. Often, these remotes offer multi-device control, which means you might need to enter a code specific to your Genie opener. Here’s how you can typically do it:
1. Find the Code: Check the user manual for a list of codes associated with Genie garage door openers.
2. Enter the Code: For most universal remotes, you’ll press a specific button to start programming, followed by entering the code. You may need to try several codes until one works—it’s like trying different keys until one fits!
3. Test the Function: After programming, always give it a test to see if the button functions correctly.
Maintaining Your Genie Remote for Longevity
Taking care of your Genie remote can save you headaches down the line. Here are a few simple tips:
– Store Safely: Keep your remote in a safe place. Avoid dropping it or exposing it to extreme temperatures; both can affect battery life and functionality.
– Regular Battery Check: Make it a habit to check the batteries. If you’ve noticed delays in operation, it might be time for a change.
– Keep Away from Moisture: If you’re using the remote outside, consider getting a weatherproof case. Moisture can damage the circuitry and lead to malfunctions.
Programming your Genie remote doesn’t have to be a daunting task. Once you walk through the steps and understand the process, you’ll find it’s quite straightforward. You’ll enjoy the ease of access to your garage, and you’ll feel empowered knowing you can handle setup and troubleshooting like a pro.
So, the next time you pull into your driveway, you can slide into your garage without a second thought. Remember, the key to success lies in patience and following the steps carefully. Happy programming!