Programming the Chamberlain keypad is similar to setting up a new phone; it can be a bit intimidating at first, but once you know the steps, it’ll become second nature. I’ll walk you through the entire process, making it easy to understand, like a recipe you can follow while sipping your favorite coffee. Let’s dive into how to get that keypad working for you!
Understanding Your Chamberlain Keypad
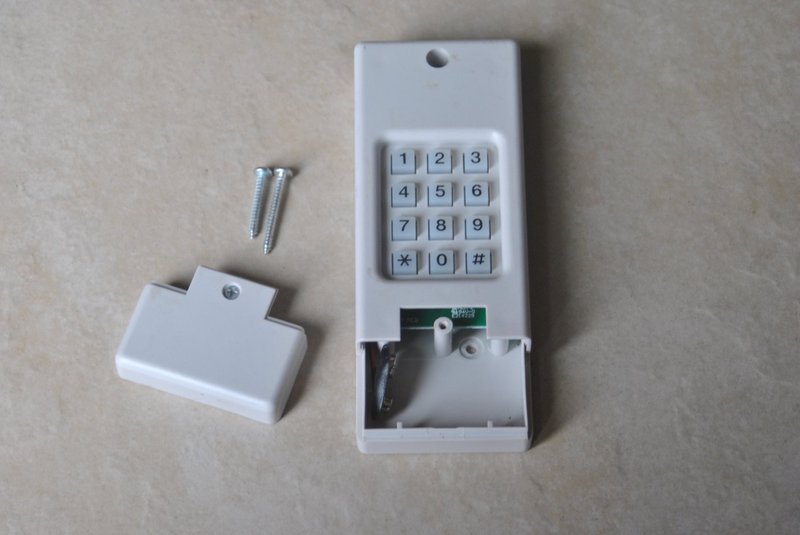
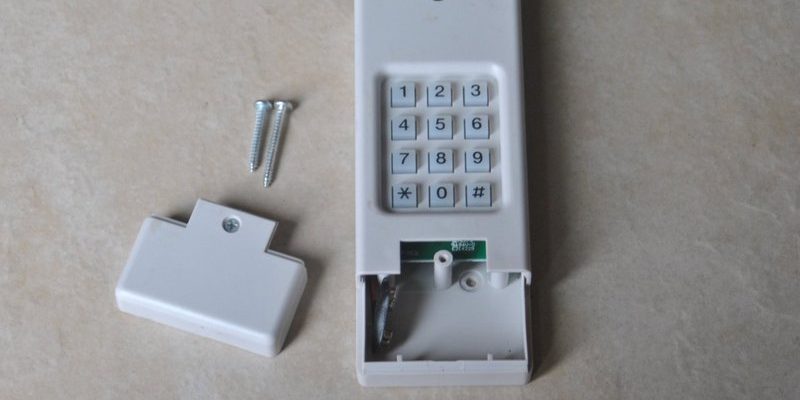
Before jumping into programming, let’s get familiar with what you’re working with. The Chamberlain keypad is a wireless device that communicates with your garage door opener. Typically, it has a numeric keypad, a battery compartment, and a few essential functions—just think of it as your garage’s front door bell that grants access.
Most importantly, the keypad allows you to enter a security code that will trigger the garage door to open or close. If you’re wondering why it matters, think about how convenient it is! You can let yourself in without needing a garage remote or a separate key, and you don’t have to worry about losing anything.
It’s a convenient tool for families, especially kids who might come home from school alone. Plus, you can easily change the code for extra security, which is just like changing your email password regularly.
Gather Your Tools
Programming your Chamberlain keypad requires just a few items. Here’s a quick list:
- Your Chamberlain keypad
- The garage door opener (already installed)
- Owner’s manual (if available)
- A small pin or paperclip to press buttons
- Fresh batteries, if needed
Make sure you have everything handy. Sometimes, the smallest details can make the biggest difference, like having fresh batteries ready to go. If the keypad isn’t responsive, the battery might be the problem, just like a phone needing a charge.
Setting Your Keypad Code
Once you have everything ready, it’s time to set your code. Follow these steps closely:
1. Locate the learn button on your Chamberlain garage door opener. This is often found on the back or side of the unit, typically a small round button.
2. Press and hold the learn button until the indicator light begins to blink. This usually takes about six seconds. Some models might require you to press it multiple times—check your manual if you’re unsure.
3. Within 30 seconds, go to your keypad and enter your desired code. Aim for something easy to remember but difficult for others to guess. Stick to 4-6 digits for best results, just like creating a strong yet memorable password.
4. Press the enter button once you’ve input your code. If done correctly, you should see the indicator light flash once on the opener, confirming it recognized your code.
Congratulations! You’ve just programmed your Chamberlain keypad—it’s like unlocking a new level in a game.
Testing the Keypad
You wouldn’t want to find out the code doesn’t work when you’re in a hurry, right? So, let’s ensure everything works as planned. Follow these simple steps:
1. Close the garage door completely.
2. Wait a few seconds and then enter your code again on the keypad.
3. Press enter and watch the magic happen. The door should open smoothly if the code is programmed correctly.
If it doesn’t? No worries! This might happen to the best of us. Here’s the thing: you might need to reset the keypad and start over or check if the batteries are working. Your owner’s manual can especially be your best friend here.
Common Troubleshooting Tips
Sometimes, technology doesn’t always cooperate the way we wish it would. If your keypad isn’t working, consider these common issues:
– Battery issues: Weak or dead batteries are a common culprit behind malfunctioning keypads. Try replacing with new batteries, ensuring they are inserted correctly.
– Interference: Other electronic devices might interfere with the keypad’s signal. Ensure there’s nothing nearby that might cause disruption, like radios or even certain appliances.
– Incorrect code: It’s all too easy to type in the wrong code by mistake. Double-check your input. Most pads will give a beep if the entry is incorrect.
If these steps don’t solve the problem, consulting your owner’s manual or contacting Chamberlain’s support can provide additional solutions.
Maintaining Your Keypad
To keep your Chamberlain keypad working smoothly, some simple maintenance goes a long way:
– Check batteries regularly: Just as you wouldn’t let a phone go too long without a charge, keep an eye on your keypad batteries. Replacing them every 6 to 12 months can prevent issues.
– Clean the keypad: Dust and dirt can affect performance. A quick wipe down with a damp cloth every few months should do the trick.
– Store your codes securely: Losing track of your programmed code can be a hassle. Write it down in a safe place (but not on the keypad itself!) in case you need to reference it.
These tips will help ensure your keypad runs smoothly and continues to provide convenient access to your garage.
Wrapping Up
Programming your Chamberlain keypad might seem like a daunting task at first, but it’s much simpler than it looks. With just a few straightforward steps, you’ll unlock a wonderful level of convenience for your daily life. Imagine never having to dig through pockets or worry about losing keys again—it’s like having a secret entrance to your home!
Always remember to practice a bit of maintenance to keep everything running smoothly. Should any hiccups arise, have no fear; troubleshooting is part of the process. The more you use the keypad, the more comfortable you’ll become with it. So, get ready to enjoy the ease of access that your new keypad brings, and take one more step toward securing your home in style!
