If you’ve just purchased a new remote or simply need to reprogram your existing one, you’ve landed in the right spot. LiftMaster has several different models, and they all follow a similar process for programming. Picture it like getting your favorite playlist on shuffle; once you know how to set it up, you’ll enjoy the tunes without a hitch. Let’s dig into how to get your LiftMaster garage door opener ready to roll.
Understanding Your LiftMaster Garage Door Opener
Before diving into the programming process, it’s essential to understand how your LiftMaster garage door opener works. Most models utilize a system of codes that allow your remote or keypad to communicate with the opener. When you press the button on your remote, it sends a coded signal to the opener, prompting it to open or close the garage door.
If you’ve lost your remote or it recently stopped working, this could be due to several reasons ranging from a dead battery to needing a reset. Knowing these basics can help you identify where potential issues lie. You might be wondering what to do if you can’t get your remote to program. Don’t fret! Understanding the programming process will often solve these issues.
Gathering Your Tools and Information
Programming your LiftMaster garage door opener isn’t too demanding, but there are a few things you’ll need to have on hand before you start:
- Your LiftMaster garage door opener model number
- A compatible remote or keypad
- A sturdy ladder (if your opener is mounted high)
- Fresh batteries for the remote (if applicable)
It’s also a great idea to jot down the last code you used when programming your previous remote. This is useful if you ever want to return to that specific setup. If you’re unsure about the model of your LiftMaster opener, look for a label or sticker, often found on the motor unit, which will provide the details needed.
How to Program Your LiftMaster Remote
Now, let’s get into the meat of it. Programming the remote can be broken down into a few simple steps. Here’s how to do it:
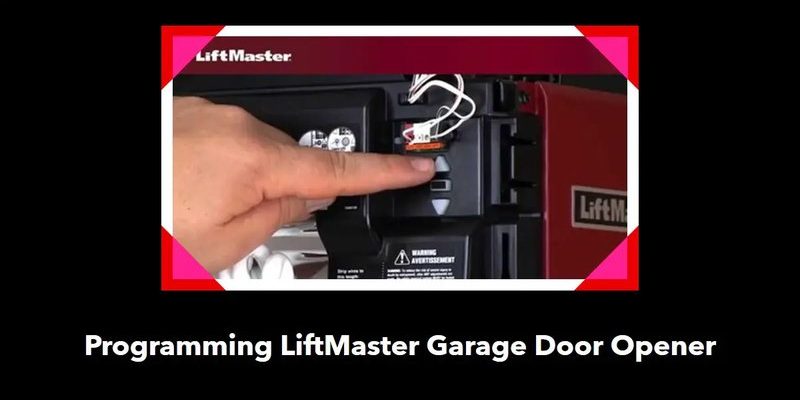
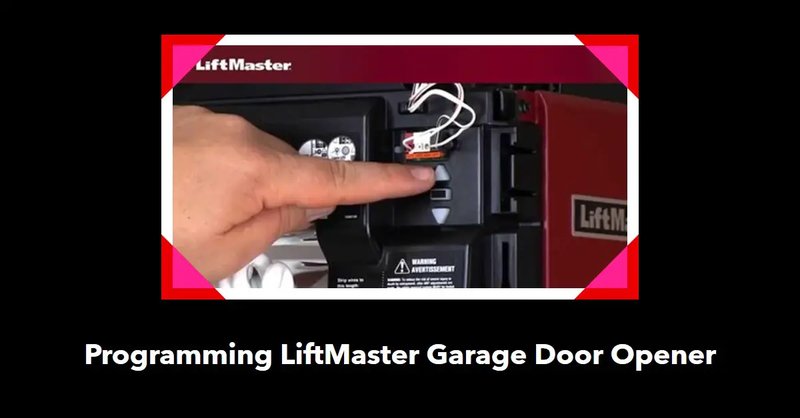
1. Locate the “Learn” Button: Depending on your model, the “learn” button might be on the back or the side of the garage door opener unit. It’s usually a brightly colored button, often yellow or orange.
2. Press the Learn Button: Once you’ve located it, press the “learn” button and you’ll see the indicator light turn on. This indicates that the opener is ready to receive the new code.
3. Press the Remote Button: Within 30 seconds of pressing the learn button, press and hold the button on your remote that you’d like to program. You should see the lights on the garage door opener blink, indicating that it’s recognized your remote.
4. Test the Remote: Try using the remote to open the garage door. If it works, congratulations! If not, repeat the steps to make sure you didn’t miss anything.
Each model might have slight variations, so if this doesn’t quite work, double-check the manual that came with your LiftMaster for specific details.
Programming a Keypad for Your LiftMaster Garage Door Opener
Programming a keypad can be slightly different, but it follows a similar principle. Here’s how to make it work:
1. Locate the Learn Button: Just as with the remote, start by locating the learn button on your garage door opener.
2. Enter Your Desired Code: On the keypad, enter your chosen four-digit security code. This is crucial as it will be what you usually use to open the door.
3. Press the Learn Button: With the code entered, press and hold the “learn” button until the light on the garage door opener blinks. This usually takes about 30 seconds.
4. Test the Keypad: Enter your four-digit code again and hit enter. If the door opens, you’ve successfully programmed the keypad!
If at any point things don’t seem to work, don’t hesitate to reset your opener. This can clear any previous codes and start fresh.
Troubleshooting Common Programming Issues
Even when following the steps, you may run into some snags. Here are common complaints and how to troubleshoot them:
– Remote Won’t Program: Check if the battery is dead. Replacing it can save you a lot of time. Also, ensure you’re within range of the opener.
– Keypad Not Functioning: Make sure you’re using the correct code and check if the keypad itself requires new batteries.
– Light Doesn’t Blink: If the LED light on your garage door opener doesn’t blink when you press the learn button, try resetting the unit and ensure there is no debris blocking the sensors.
– Repeated Programming: Each time you program, previous codes may still affect the process. Resetting everything can often clear up these issues.
You might feel frustrated at this point, but honestly, a little patience goes a long way when programming garage door openers.
Considering Universal Garage Door Remotes
If your original remote is lost or broken, you might consider a universal garage door remote. They’re convenient, especially if you have multiple brands of openers. However, do note that they may not offer all the features of a brand-specific remote, like additional buttons or programming options.
Programming a universal remote can sometimes require different steps, so be sure to check the instructions specific to that remote. Here’s what you can typically expect:
1. Refer to the Manual: Your new universal remote will come with instructions tailored to your model.
2. Set the Code: Usually, you’ll have to enter a code that matches your garage door opener brand, which can take a few attempts.
3. Test the Functionality: Make sure all the buttons work correctly—especially the ones for opening and closing the door.
With a little experimentation, a universal remote can often be a great stand-in.
Final Thoughts
Programming your LiftMaster garage door opener doesn’t need to be a headache. Whether you’re syncing a remote or a keypad, the process is straightforward when you break it down step by step. Don’t forget to have your tools at arm’s reach and allow yourself a little grace during the learning process.
Remember, you’re not alone in this—many have faced similar challenges. If you’re still running into issues, reaching out to LiftMaster’s customer support can give you additional insights. You’ve got this; soon enough, you’ll be zipping in and out of your garage with the touch of a button!